
Welcome to Day 4 of Art Every Day Month! Today I’d like to share my second card of the month – along with some tips on working with transparencies and a peek into the thought process behind the card!
Inspiration and Design
First, a little background. As I shared in yesterday’s WOYWW post, the idea for this card originated in another project. I was cutting out patterns for my Altered Torso Project and ended up with several leftover scraps of paper. I thought about what I could do with the scraps, and after brainstorming a few designs in my mind, ended up using four of the scraps to create my celebration card.
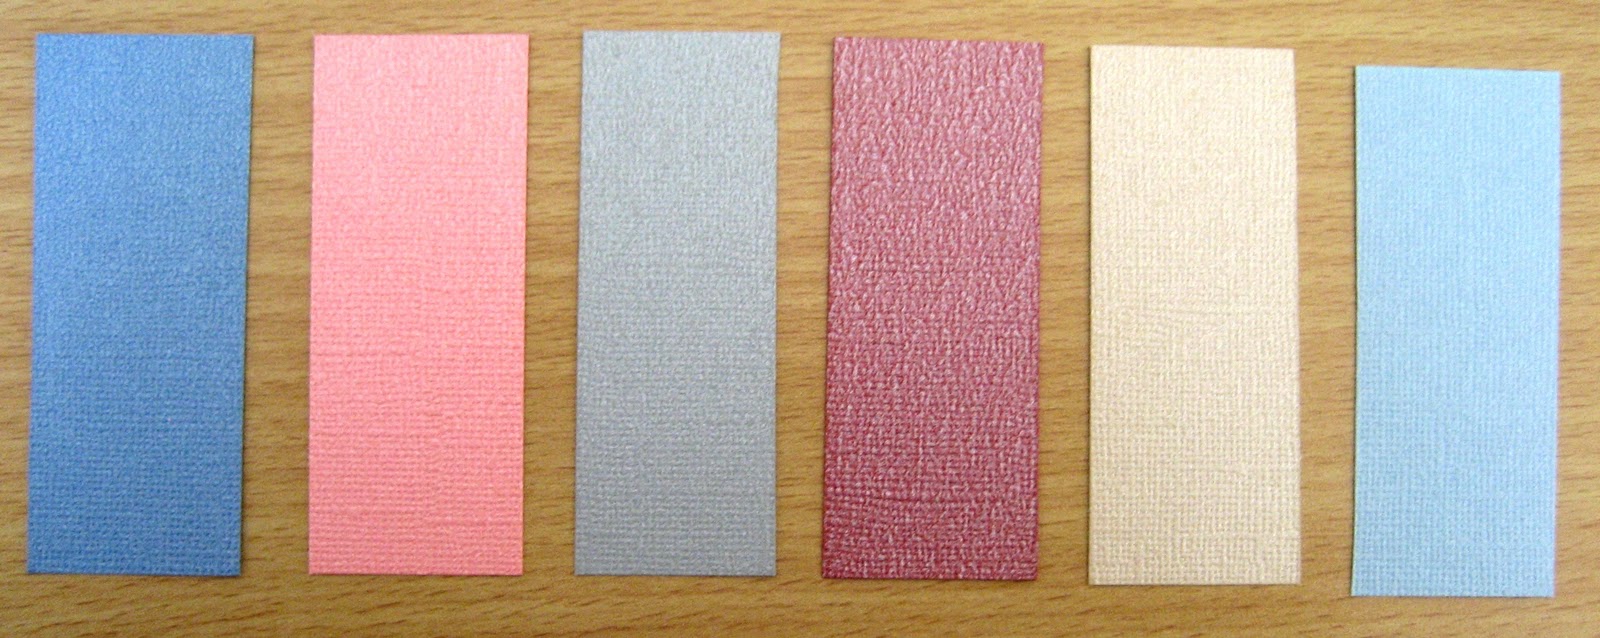 |
| And Then There Were Six… What Would I Do With These? |
I was so pleased with how that card came out, I thought it would be fun to create another card, using similar ingredients, to demonstrate how versatile a good design is, and how different your outcome can be with a little imagination! So, enjoy this exclusive peek behind the scenes as you use the ideas presented to stimulate your own creativity!
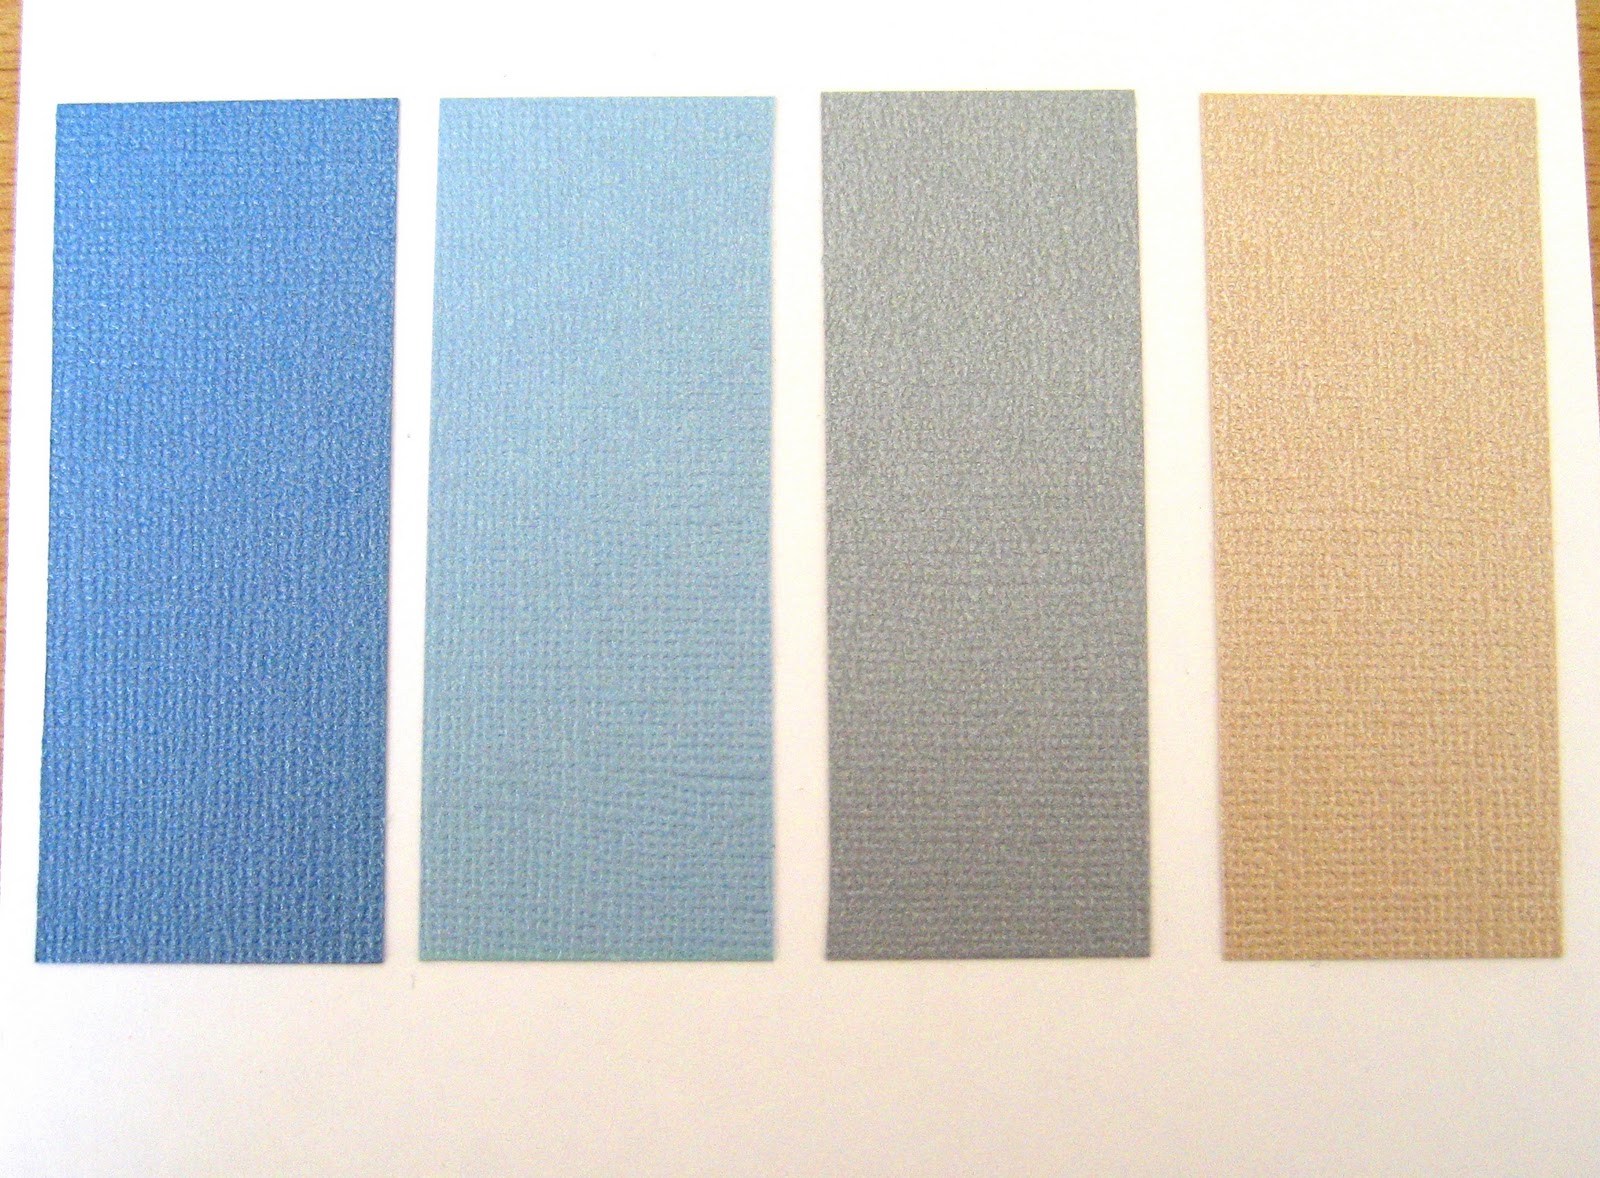 |
| When You See These Colors, What Images Come To Mind? |
Choose A Color Scheme
The colors you choose for your projects play a crucial role in the design process because they help you set the mood and convey your theme. As I looked at the six remaining scraps in Photo Two, there were many beautiful color combinations to choose from. But I decided to work with the monochromatic blues plus the neutral beige because I love the sense of quiet, peace, and elegance that this color scheme conveys.
A Little Planning Goes A Long Way
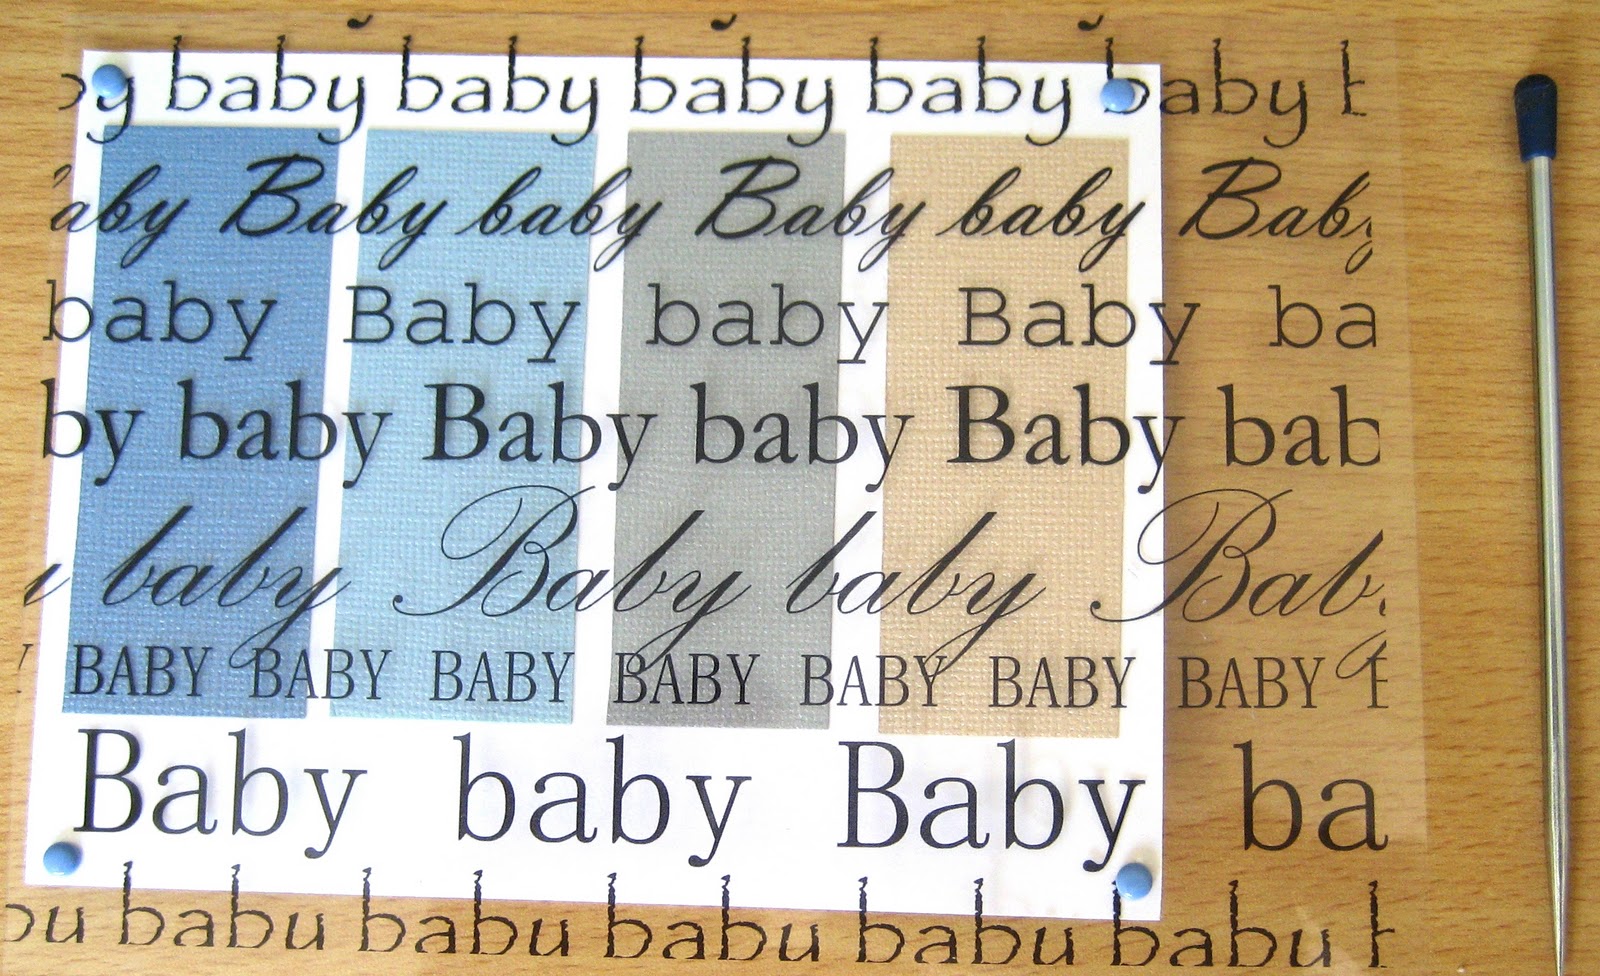
When I created the original card, the elements I worked with included a card base, four scraps of paper, flowers, ribbon, transparencies, and buttons. For this card, I used the same essential ingredients but I replaced the buttons with brads.
Tip: When you are working with embellishments like brads that show through the back of your paper, create a card front to maintain invisible lines. To do this, cut cardstock to match the size of the card you are working with – attach all of your elements to the card front – then attach the completed card front to your card base. Designing card fronts – instead of entire cards – is also a savvy way of cutting down on postage costs if you are participating in a card swap.
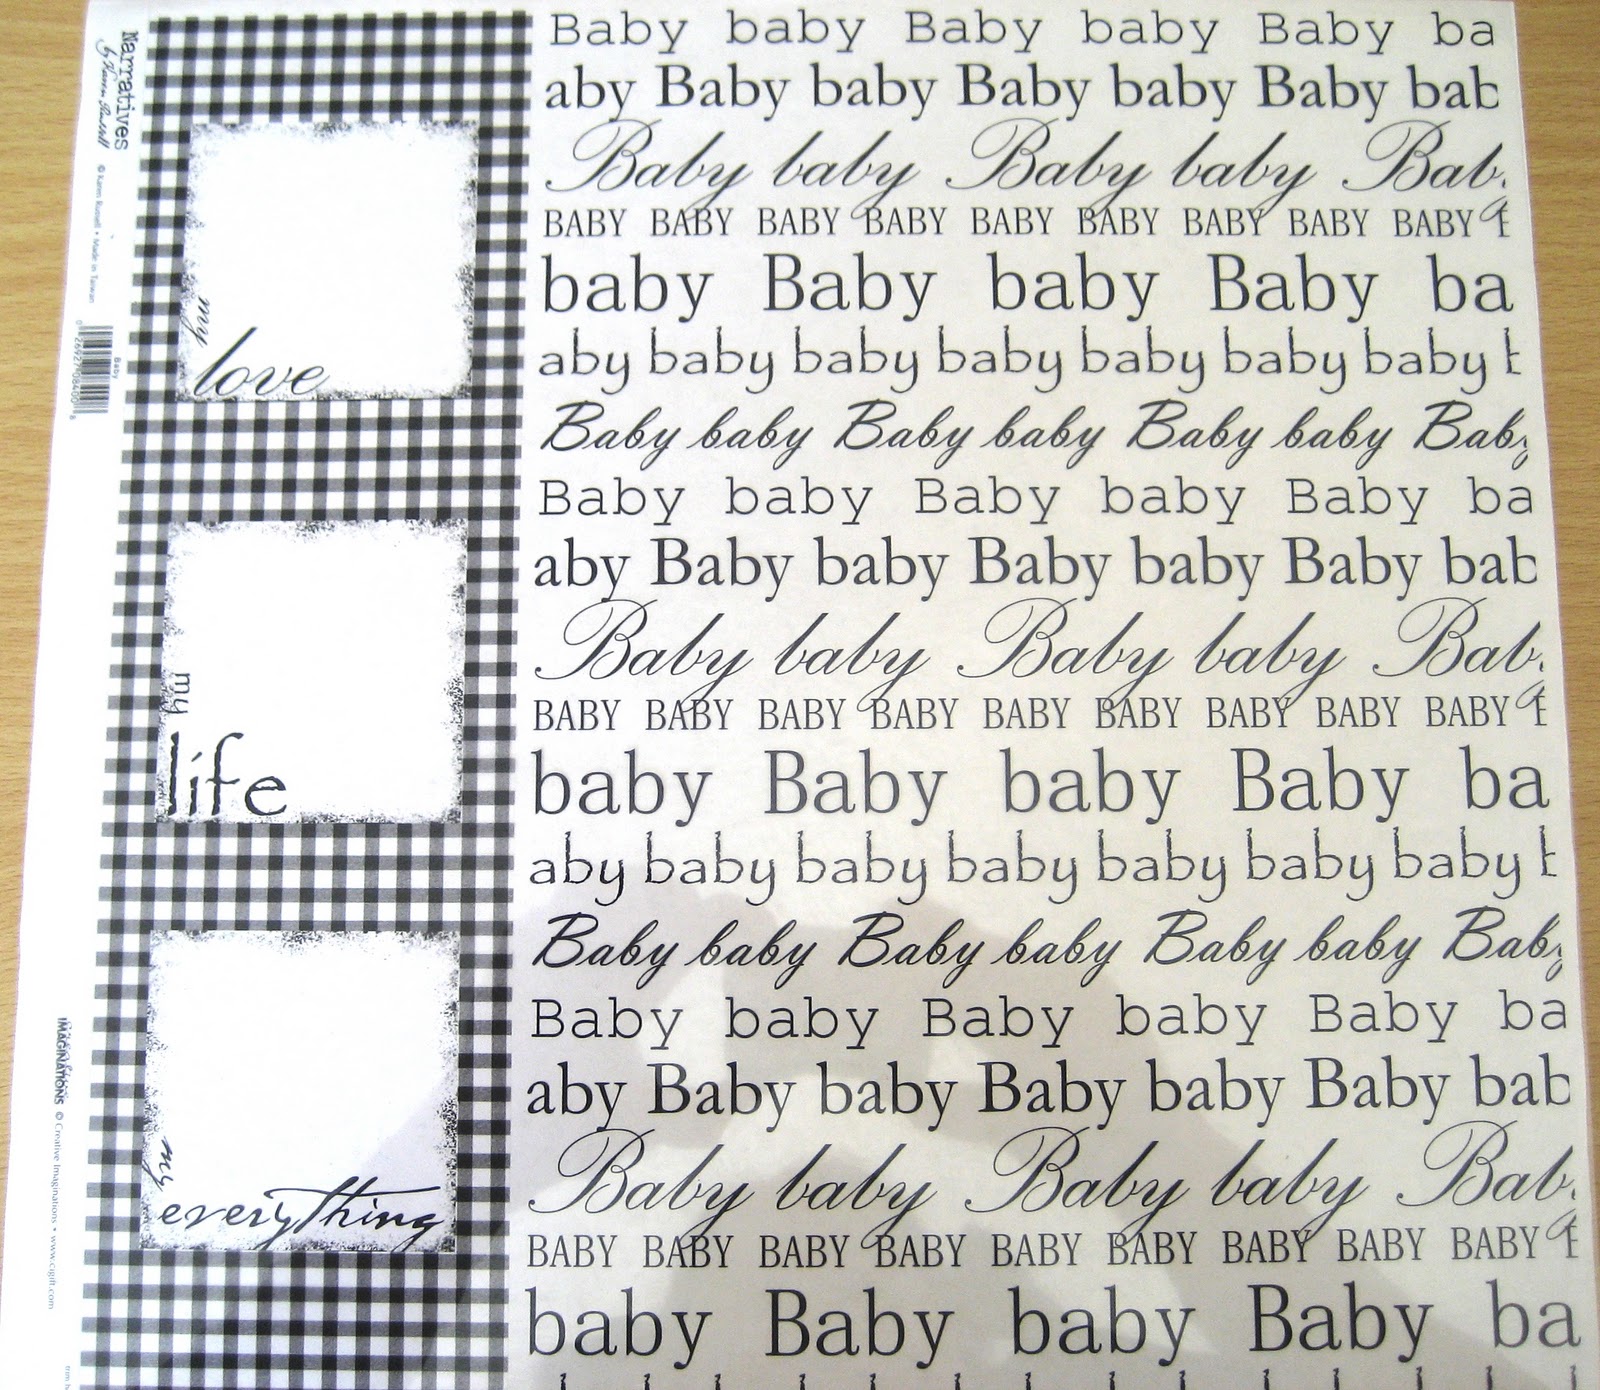 |
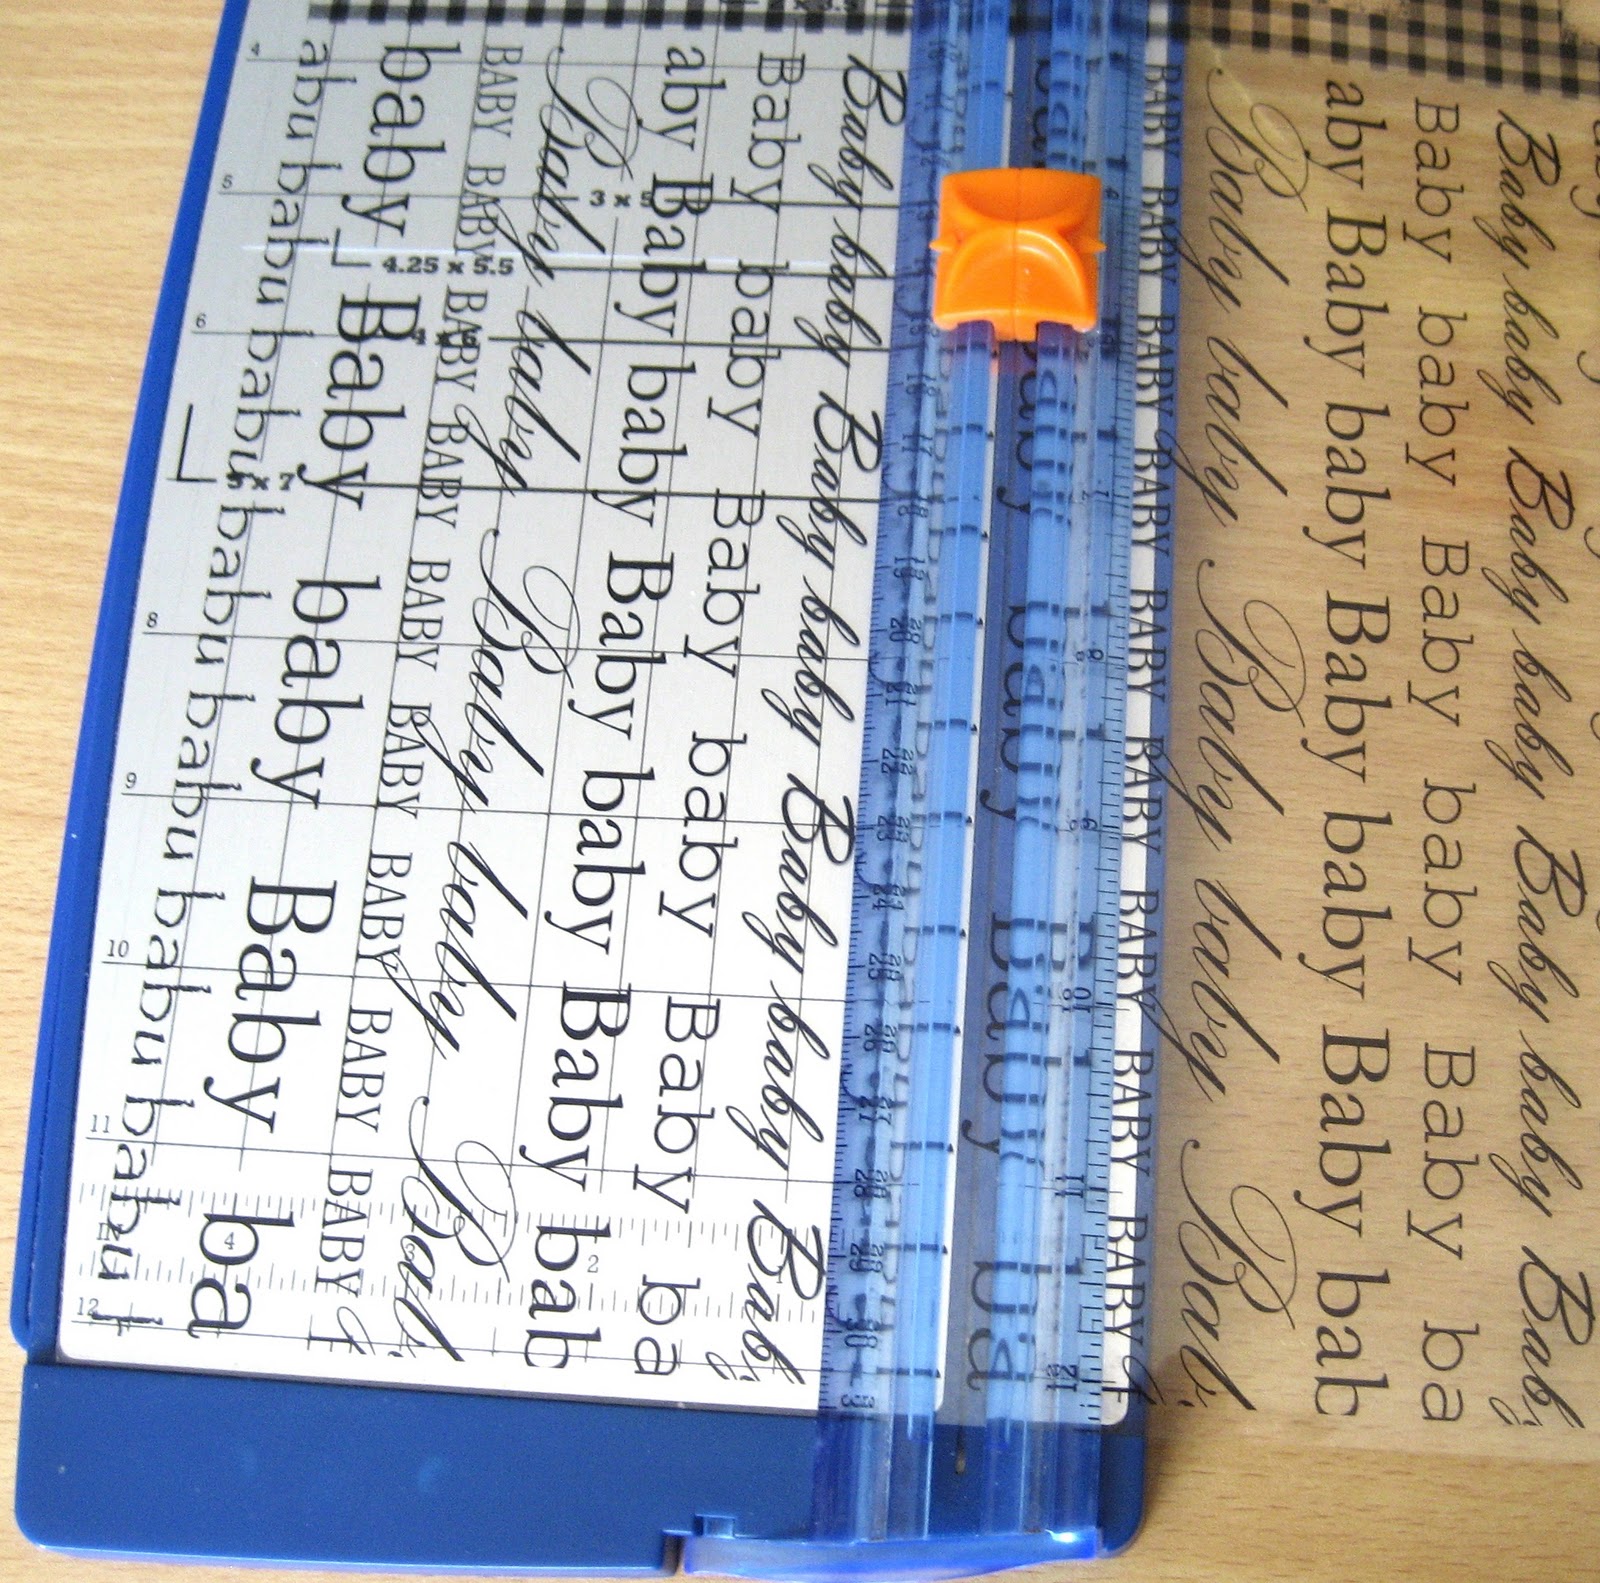
| 12 x 12 Transparancy By Creative Imaginations – Karen Russell |
Working With Transparencies:
I love incorporating transparencies into my projects because they add dimension without bulk, as well as a touch of unexpected elegance. You can make your own (a topic for another time) or use one of the many beautiful designs in the marketplace. Here are a few pointers that will help you to incorporate transparencies into your next project with ease:
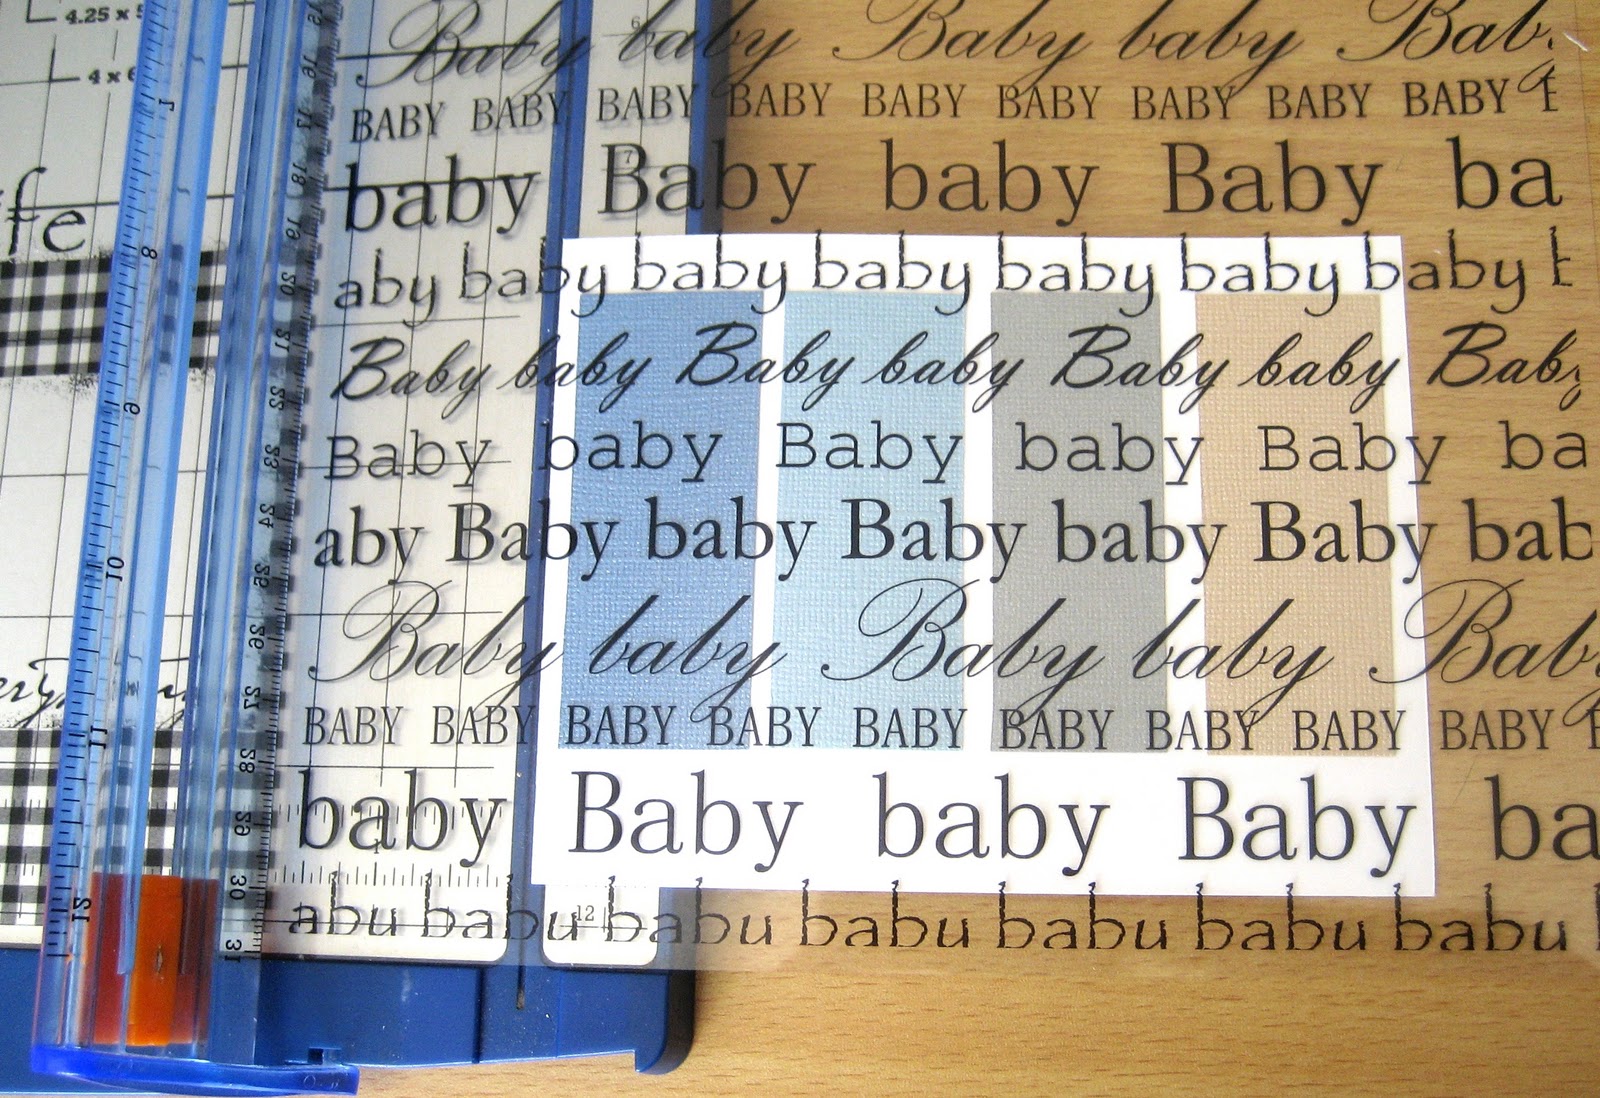 |
| A Little Goes A Long Way – But Cut Generously For Flexible Positioning |
Positioning: One of the wonderful things about transparencies is that you can see exactly where you want to position specific text or images on your card. Once you have made that decision, position your card and transparency on your paper trimmer, allowing for an extra margin around your cut to make positioning easier. When you are satisfied with placement, remove the card.
 |
| Use The Proper Cutting Tools To Maximize Your Product |
Making The Cut: If possible, use a trimmer like Fiskars that allows you to move the blade to the exact position you want to cut from. Cut from the center edge, not the end, so that you will cut out only the portion of the transparency you are working with. You can also control your cut by using an Exacto Knife if you have one.
 |
| Use A Paper Piercer To Set Your Brads |
Attaching The Transparency: Attaching transparencies can be tricky because if you use the wrong adhesive, you run the risk of your adhesive being visible to the beholder! Embellishments like eyelets and brads are a perfect choice because there are no glues to worry about, and the adhesion method becomes a part of the design!
For this card, I attached the transparency with four blue mini brads that emphasize the blue color scheme. I used a paper piercer to make setting the brads easier. If you like precision, you can measure and lightly dot your paper where you want your brads to go, or you can eye it, like I did! Make sure your transparency is lying flat before you punch your holes, as there are no do-overs in this part of the process!
To complete the card, I added pretty satin ribbon, a shimmering Petaloo pointsetta, and a sparkling diamond brad for the finishing touches.
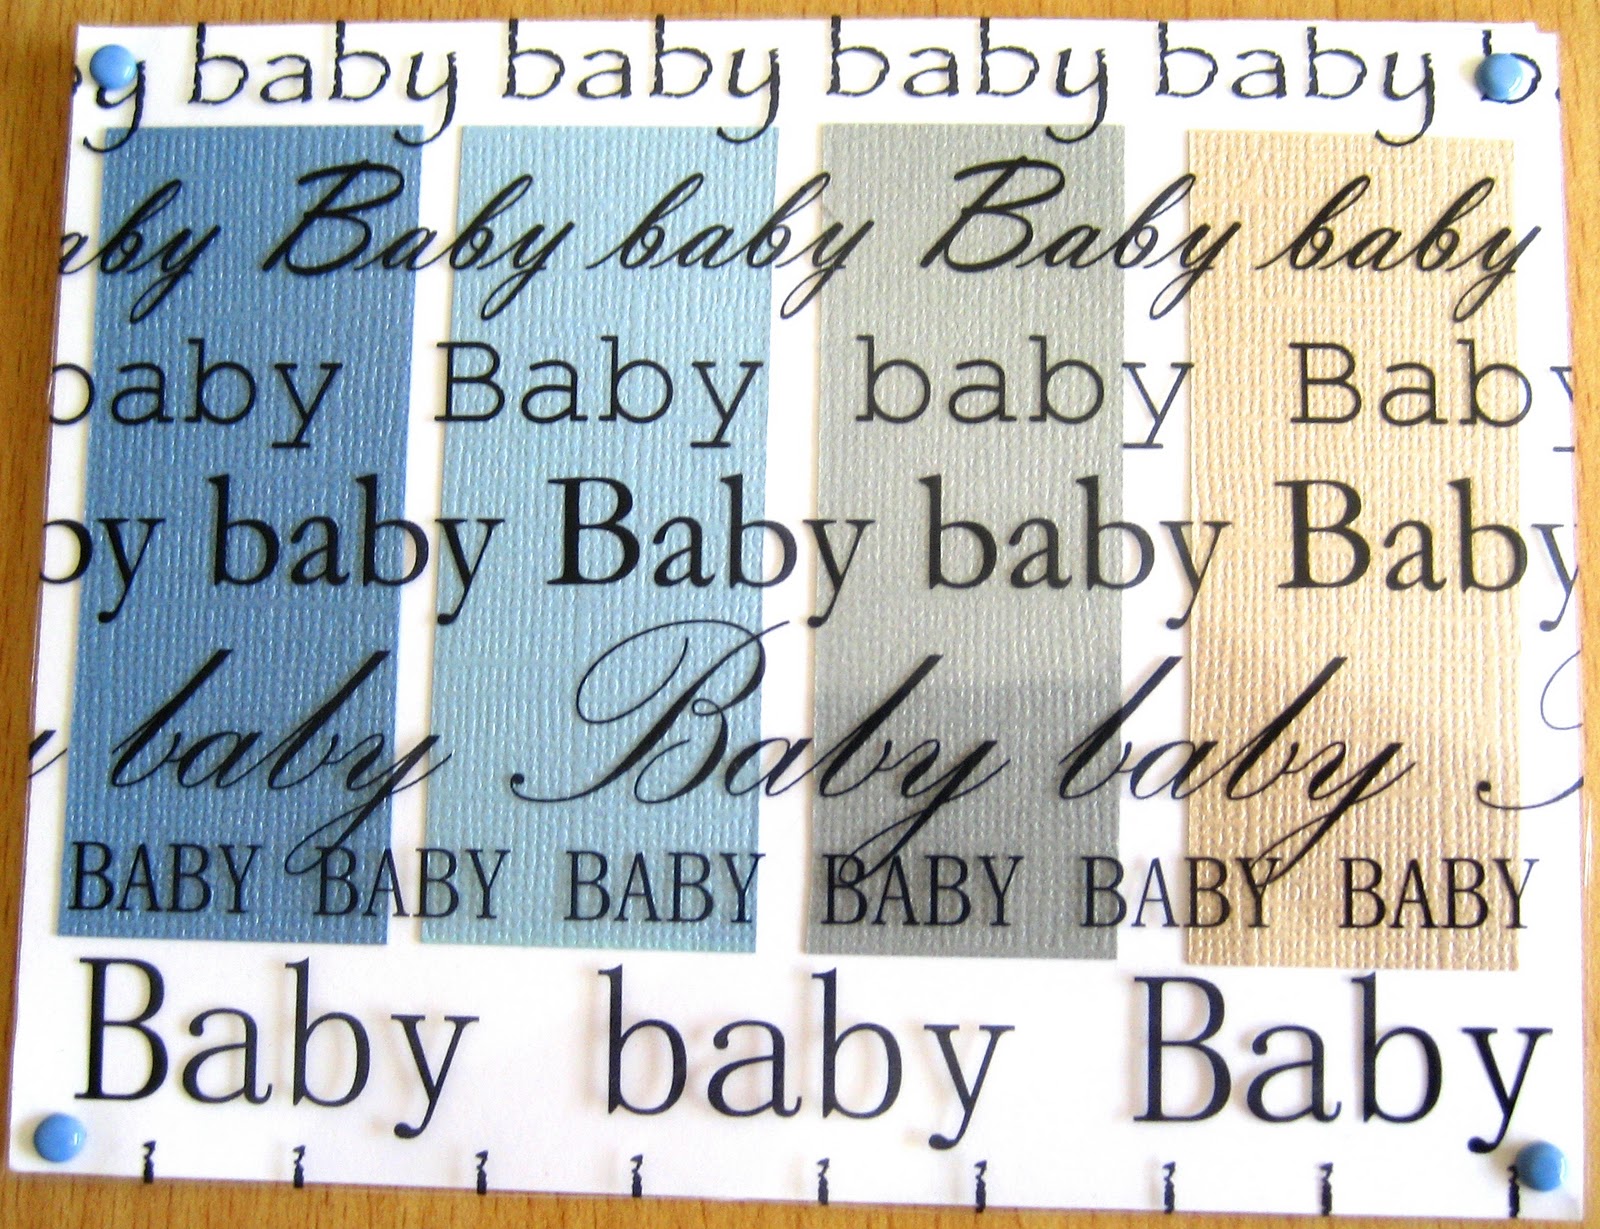 |
| Attach The Transparency To A Card Front – Then Attach The Card Front To The Card Base – To Keep The Back Of Your Embellishments Invisible |
Final Thoughts:
As you look around your home and dig through your supplies, how many out-of-the-box ideas can you come up for seemingly obvious-use items?
At first glance, it might appear that this is a baby-themed card. But, the color scheme reflects both the cool icy blues of winter, and the earth and sky colors of the summer’s beach. The words “Baby Baby” bring the old Amy Grant song to mind. Expanding on these ideas, this card could be used as a birthday card for someone dear to you who is born in either the summer or the winter. It could also be used as a love card, a special occasion card, or an anniversary card for someone dear to you. My husband is a winter baby – when I look at the card, I think of him!
Have fun creating cards! Challenge yourself with your designs and your thought process. Think outside the box! Don’t be afraid to experiment, to have fun, to play!
Speaking Of Challenges:
If you’re looking for ways to expand your creativity, why not try your hand at some of the challenges featured below – or check my sidebar for more sites that will get your creative juices flowing!
Anything Goes Challenge Blog #23 – The Letter B
Art Walk Friday – Blue
Craft Your Passion Challenges #30 – Anything Goes
Ellephantastic Challenge #18 – Blue
Lexi’s Creations 26 – Anything Goes
Ooh-La-La Creations – Remember Remember
One Stop Craft Challenge 104 – Anything Goes
Sentimental Sundays Challenge #27 – Birthdays
Need More Inspiration?
Visit these sites for more wonderful ideas!
Creative Every Day
Fabulous Friday Finds
It’s A Hodgepodge Life
It’s So Very Cheri
Saturday Nite Special
Scraptastic Saturday
36th Scrappy Saturdays
Tutorial Tuesday
Cute blog. You seem very creative.
I am now following you through the Blog hop posted at OKM.
you can follow me back at almostcrazycouponlady.com
Very cool blog…came over from the blog hop. New follower.
Forest Rose
Love your tutorial and the card turned out fantastic.
I found you on the Thursday Friends & Giveaways blog hop and I followed you via GFC please follow me back http://frugalfamilyfunspot.blogspot.com Thanks!
Fabulous card and tutorial
Thank you so much for sharing it with us at ooh la la this week
Wendi
Awesome card, its really diffferent. Love the stunning blue flower it just sets the whole card off…great! Thank you for playing along with Ellephantastic this week x x
Love this card! 🙂
Great baby card! Give Legend a smooch 🙂
Fab card.Love the colours and the flower.Such a beautiful way to use up scraps.Thanks for joining us at Craft Your Passion 😀
Lisa x
Very pretty card and the tips. 😉
Hi! Love your blog, it is so cute and crafty!! I am your newest follower. Greatsite! Nice to meet you!
Chris 🙂
http://absolutely–positive.blogspot.com/
I added myself to follow your blog. You are more than welcome to visit mine and become a follower if you want to.
God Bless You 🙂
~Ron
These are gorgeous ideas. I like your blog. Thanks for linking on the bloghop. I am a new follower from http://www.thriftymommastips.blogspot.com/
and http://www.thriftymommasbrainfood.blogspot.com/
I just came over from the blog hop. And I have to say I absolutely love your blog. I'm now following.
I just came over from the blog hop and glad I found you. I really love your blog. I'm following as well.
What a cute card! Thank you so much for the tutorial! Thanks for participating in Art Walk Friday on my blog. : ) Have a great weekend!
New follower from the 2 day blog hop over at ChicnSavvy! I am going to have fun checking our your blog over coffee!!! Yay, so glad to have found you.
Hi! Following from Java's Blog Hop! Stop by and say hello and I'd love it if you followed me back! You do absolutely lovely work. I love cards of all kinds and have a drawer full of them from friends and family that I just can't ever seem to throw away! Drives hubby crazy! LOL
Hope you have a great weekend!
Blessings,
Martha from
Oh how pretty and fun. I love tutorials!
This is very cute! What a great idea! Thanks for linking to Weekend Wander!
Krista
Blog Hopping today! I am a new follower!
Love for you to come follow me back
great card and tutorial thanks for joining us at anything goes x sue x
Oh gosh…I love your blog! I am a new follower and NOT very creative! HA! Would you like to follow me? THANKYOU! I look forward to your posts!
http://couponsandfreebiesforyou.blogspot.com/
Love your blog. I'm a new follower from Blog Hop Friday. Stop by my blog and check it out. http://diyhshp.blogspot.com/
Hi and hello from your newest followers for hop along Friday!
love the card, so creative.
fab card ,great tutorial too,thanks for joining us at lexi's and good luck
lalkygirl x
Hi….following you now from "Over 40" blog hop…you have a really fun blog here…so many great ideas….. and I can't wait to wander around exploring! 🙂 I'd love to have you come by my place and look around too!
Elaine
gorgeous Ramona – well done… good luck with all the other challenges.
Paula x x x
That is such a cute idea! great tutorial!
I'm following you with GFC
Cindy @
Great tutorial, your card is beautiful!
Thank you for joining the Sunny Saturday Blog Hop last week. Hope to see you again this week!
Linda @ Linda's Lunacy
http://www.lindaslunacy.blogspot.com
Too cute! I love the transparent part. Fun and perfect card!
Thanks for linking up to SS!!
Hannah @ http://youngancrafty.blogspot.com/
cute card!
I'm following you from Hop Along Friday! Would love a follow back! Thank you!
http://mamacampbell.blogspot.com/
U have an absolutely creative wonderful blog:-)
And thannnxx a ton for all those linkies!
Great blog! I'm a new follower from WW.
http://www.amaskellantics.com/
I am anew follower from the weekend hop. Hope you can stop by my blog.
http://thewhitefamilyof6.blogspot.com
Following you from Tammy's Two Cents. Can you do the same?
Be sure to check out my giveaways, too!
Thanks! 🙂
This is a great card! Good luck with your challenges. I know what you mean about transparencies, I have printed my own poems and sayings and then layered them over photos… I actually posted one recently (Nov 5th) that I used on a scrapbook page. Hugs, antonella 🙂
Great card! I never thought of using transparencies.
Hi! Thanks for the tut, one I must add to my 'to try' list! Gorgeous card which you've shared with us at OLL. Hugs x
Love the color scheme you used and the great transparency! Thanks for linking up to Scrappy Saturdays! Featuring this later today!
Great tutorial and fab card – Hazel, OLL Guest Designer x
I love the color palette; it’s so calming and fun at the same time. The tutorial seems user-friendly.
From Create with Joy
Thanks Linda – I was so pleased with how this turned out!
I love this card; I have a few wedding papers that are clear like this and I really wasn’t sure what to do with them. Great idea. Pinned.
Thanks so much Joanne – I love transparencies, they are SO elegant! 🙂